In this tutorial, we’ll walk you through the simple and effective steps to how to install react bootstrap in reactjs application, transforming your app’s UI with sleek, responsive components in no time!
In this ReactJS beginner’s guide, we’ll explore how to integrate React-Bootstrap into your project. The most efficient way to get React-Bootstrap is through npm, allowing easy installation directly into your React app.
npm install react-bootstrap bootstrapThe most efficient way to install React-Bootstrap is by using the npm package, which you can easily set up through npm. To ensure proper functionality, you’ll need to include the relevant stylesheet. Below is the method for adding the necessary CSS to your project.

Importing Stylesheets
When it comes to using Bootstrap components and classes in your React project, first import the required components into your file. Afterward, you can apply the Bootstrap classes where needed.
import 'bootstrap/dist/css/bootstrap.min.css';For Sass
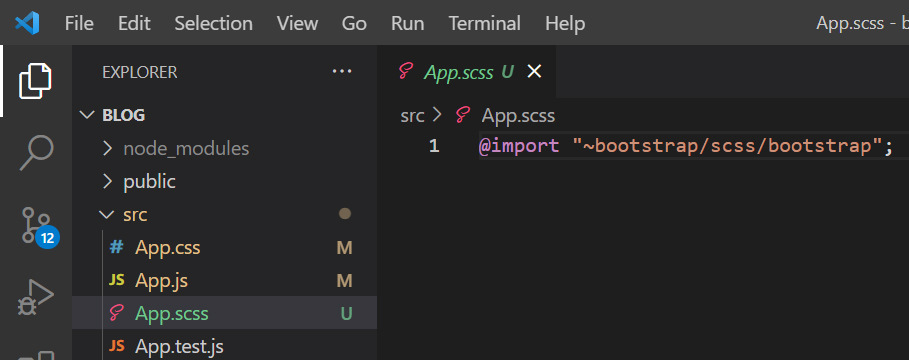
The following line can be included in a src/App.scss
@import "~bootstrap/scss/bootstrap";
CSS/SCSS/SASS
The following line can be included in your src/index.js or App.js file
Importing Components
For creating a Bootstrap-based project, you will need to incorporate Bootstrap classes to structure your layout. In React, for each component, you must first initialize it within your file, and then you can use the associated classes of that component. For instance, the example below demonstrates the usage of Bootstrap’s Container, Row, and Col classes.
import Button from 'react-bootstrap/Button';
import Form from 'react-bootstrap/Form';
Instead of importing the entire library, it’s recommended to import individual components, such as react-bootstrap/Button. This approach ensures that only the necessary components are included, optimizing your app’s performance by reducing the bundle size sent to the client.
You should import only required components in file rather than the entire library.
How to include React Bootstrap in your project.
For building a Bootstrap-based project, you will need to use the proper Bootstrap classes to create the layout. Each component in React should first be initialized, allowing you to use the corresponding classes for that component. Here’s an example showing how to utilize Bootstrap’s Container, Row, and Col classes.
import Container from 'react-bootstrap/Container';
import Row from 'react-bootstrap/Row';
import Col from 'react-bootstrap/Col';
Example of bootstrap classes

import Container from 'react-bootstrap/Container';
import Row from 'react-bootstrap/Row';
import Col from 'react-bootstrap/Col';
function Login () {
    return (
        <div className="App">
            <Container>
                <Row>
                    <Col>
                        <h1>Left Col</h1>
                    </Col>
                    <Col><h1>Right Col</h1></Col>
                </Row>
            </Container>
        </div>
    );
}
export default Login;
How to install SCSS in react?
$ npm install sass
# or
$ yarn add sass
If you plan to use Sass for styling, start by installing it via npm. Once Sass is set up, you can change the filename src/App.css to src/App.scss and update your src/App.js to import the .scss file. Any .scss or .sass file will automatically compile when imported, providing you with powerful styling capabilities.
How to uninstall SCSS in react?
$ npm uninstall node-sass
$ npm install sass
# or
$ yarn remove node-sass
$ yarn add sass| React Tutorial | React Bootstrap |

1 thought on “How to install react bootstrap in reactjs?”